How To Make Soles
 I don’t recommend making soles straight away after you’ve finished making the moccasins. It is best to wait until you can see the footprint under the shoe to make the soles. Therefore, you will clearly see where to stick the soles and how to shape them precisely. It also gives time for the leather to stretch. It would usually take 2–3 weeks. You can wait longer, but it is best to do it before there is a hole…
Over the years, soles can be replaced as many times as necessary.
The following tutorial about how to add soles to your moccasins is available with clear pictures in all of our PDF tutorials and video course.
The following tutorial about how to add soles to your moccasins is available with clear pictures in all of our PDF tutorials and video course.
The Tools
— A brush, a sponge, or a wet wipe to clean your shoes.
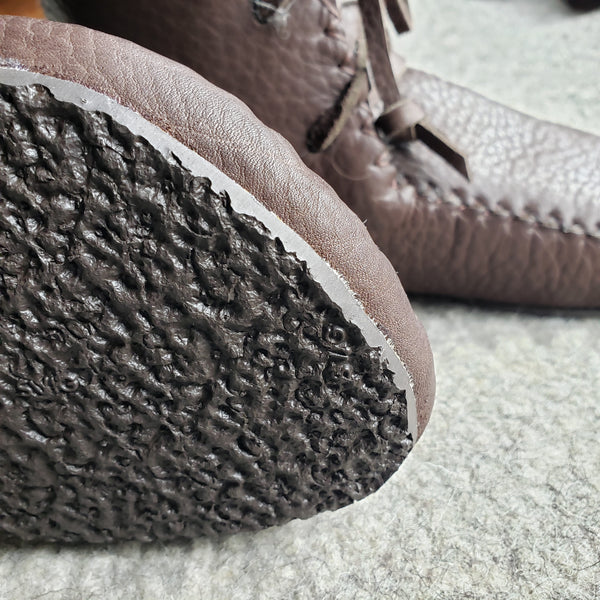
We have found that too stiff leather makes slippery, uncomfortable soles that get undone easily. If you want to keep the same comfort and high sensory feedback as with bare moccasins, best is to use rather soft leather (can be the same as for the moccasins). We have also been using thin (3 mm) compact rubber sheets with much satisfaction. It makes the moccasins more water-resistant as the water doesn’t penetrate through the sole. It is very flexible and lasts quite long.

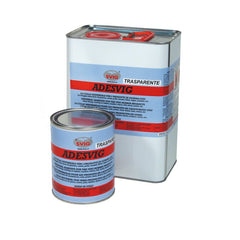
— Universal contact cement glue (from your local hardware shop)
The quality of the glue is quite important, but no need to buy expensive specialized glue, most hardware stores have what you need. You can find it in liquid or gel form. Both work but I prefer liquid one. I think it penetrates the leather a little better. We use glue instead of stitching because the stitch would touch the ground and not last.


— Something to apply the glue (a stick, a piece of plastic bottle, or a paintbrush + solvent). It is easier and more precise to apply the glue with a large paintbrush, but you would need some solvent to clean it afterward. Alternatively, I have often used a piece of the plastic bottle cut into a kind of drop shape to make a disposable spatula. In the last resort, you could use a wooden stick cut with a clean tip, it does the job…
— An awl, or any other sharp and pointy object to scratch the leather.
— A pair of sharp scissors. Good kitchen scissors usually are enough.
Preparing the Work:
1) Cleaning
Prepare your moccasins for gluing soles by making sure the bottom is totally
clean and dry. Scratch and brush dry as much dirt as possible, and finish cleaning with a damp sponge or a wet wipe. Wipe out the excess water and let it dry fully.
If any dirt, dust, or humidity is remaining, it could prevent the glue from sticking well and all your work will be done for nothing…
Tip: We have found that cleaning and preparing the shoes well is just as
important as the glue itself, if not more.
2) Scratching
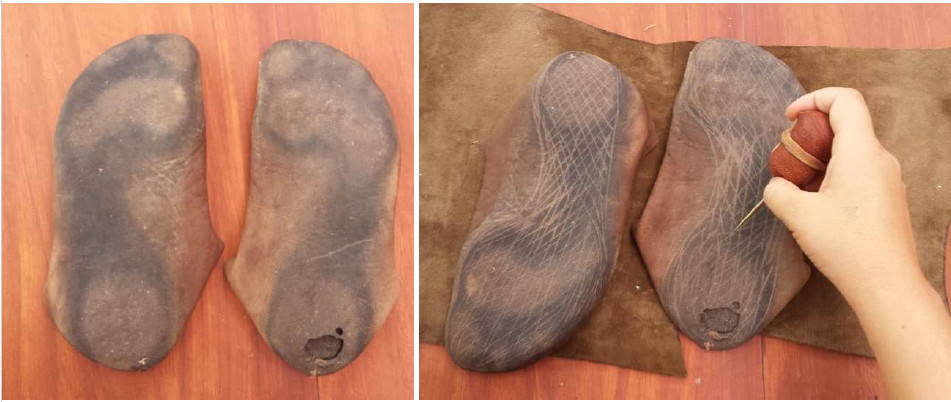
With the awl, draw around your footprint and scratch the surface that will receive glue, meaning, everywhere it touches the ground. You can enlarge the sole under the arch area even if it doesn’t touch the ground. Don’t hesitate to scratch quite hard to open the leather to receive the glue deeper. This is one of the most significant steps to make sure your sole will stick well, but also because you are drawing the final shape of the sole.

3) Applying the Glue
CAUTION: Use the glue in a well-ventilated area or even outdoors, as the solvent contained in the glue can be toxic. Read the recommendations on the packaging.
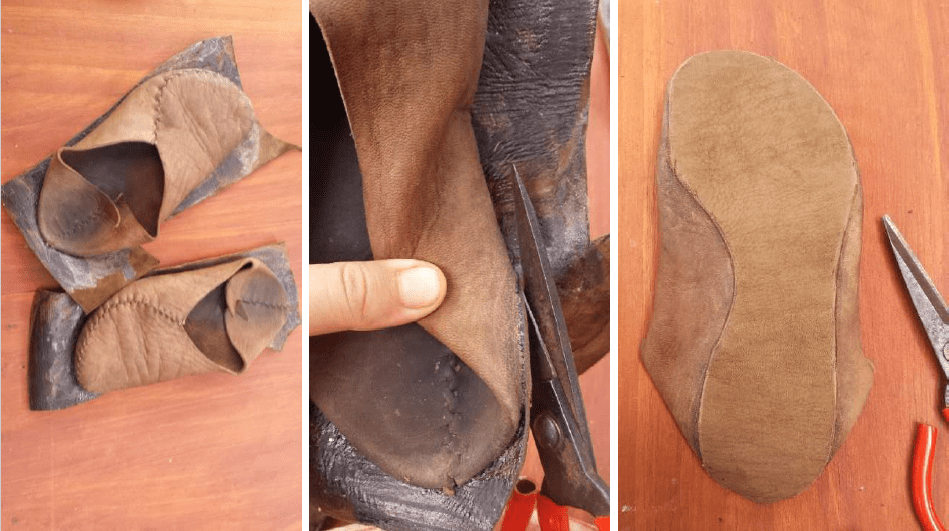
The general idea is to glue the shoes on a large piece of leather or rubber before cutting the soles.
This glue is meant to be applied on both sides and will stick as soon as it is in contact with another glued surface. On the opposite, it will not stick where there isn’t any glue on the shoes. It is not possible to move it once it was glued. You have only one chance. That’s why if you try cutting the soles first and sticking them in the right position, it will most likely be a mess with the sole not aligning, glue sticking out, etc.
So, please, follow the method below: Spread the glue evenly all over the piece of leather/rubber that you will use for soles and over the bottom of your moccasins.
On the shoe side, try being as precise as possible on the edges because this will determine the final shape of the soles. Let it dry until it is not sticky to the finger anymore (around 10 minutes). For optimum bondage, you can apply a second layer of glue.

4) Gluing It Together:
Place the moccasins on the leather/rubber and press firmly/hammer them together. Make sure it contacts everywhere and especially on the edges of the soles. Make little patches if there are holes you need to cover inside.
Note: The glue will hold straight away, but it reaches its maximum strength after 24 hours. It is best to wait a day before walking with your moccasins again.
5) Cutting the Soles
Separate the two shoes and carefully cut around the sole as close as possible to the edge of the glue on the shoe side. Be very cautious to avoid cutting the moccasin itself. If you are right-handed, I find it a little easier to cut in an anti-clockwise direction. After cutting, press again, especially on the edges that are more vulnerable to opening up.

That’s it! When the soles worn out, simply unglued it and start again when you need new soles. (or glue on top of the old layer).
